
On this page

Ghost + Adsense
Introduction to this Post
I love Ghost CMS. I tried wordpress, and I fell deeply out of love with both its design philosophy, the predatory cottage industry of paid tools, that should be built in, and PHP in general.
Ghost is an alternative, and in many ways it is better and in certain ways it is worse. You can customize it yourself quite a bit, but you also need to have a lot of technical knowledge to do it.
Putting adsense on your site is a super simple way to drive some extra revenue, and there are some really awesome customizations you can do to make it even easier.
Step 1: Make an AdSense account


Pretty self-explanatory, just go make an account and sign up with your gmail. This shouldn't take more than a few minutes, but it will give you everything you need to start showing ads.
Step 2: Decide how you want to show ads.
There are really two options when it comes to setting up ads on your website:
- Auto Ads
- Ad script
With auto ads, you put one line of code into your sites code injection block and forget about it. Google will do the work for you.
However, with the ad script, you need to follow a bunch of steps.
- Create an ad size and type.
- Copy the code.
- Choose a spot in your blog.
- Create an /html block.
- Paste the code.
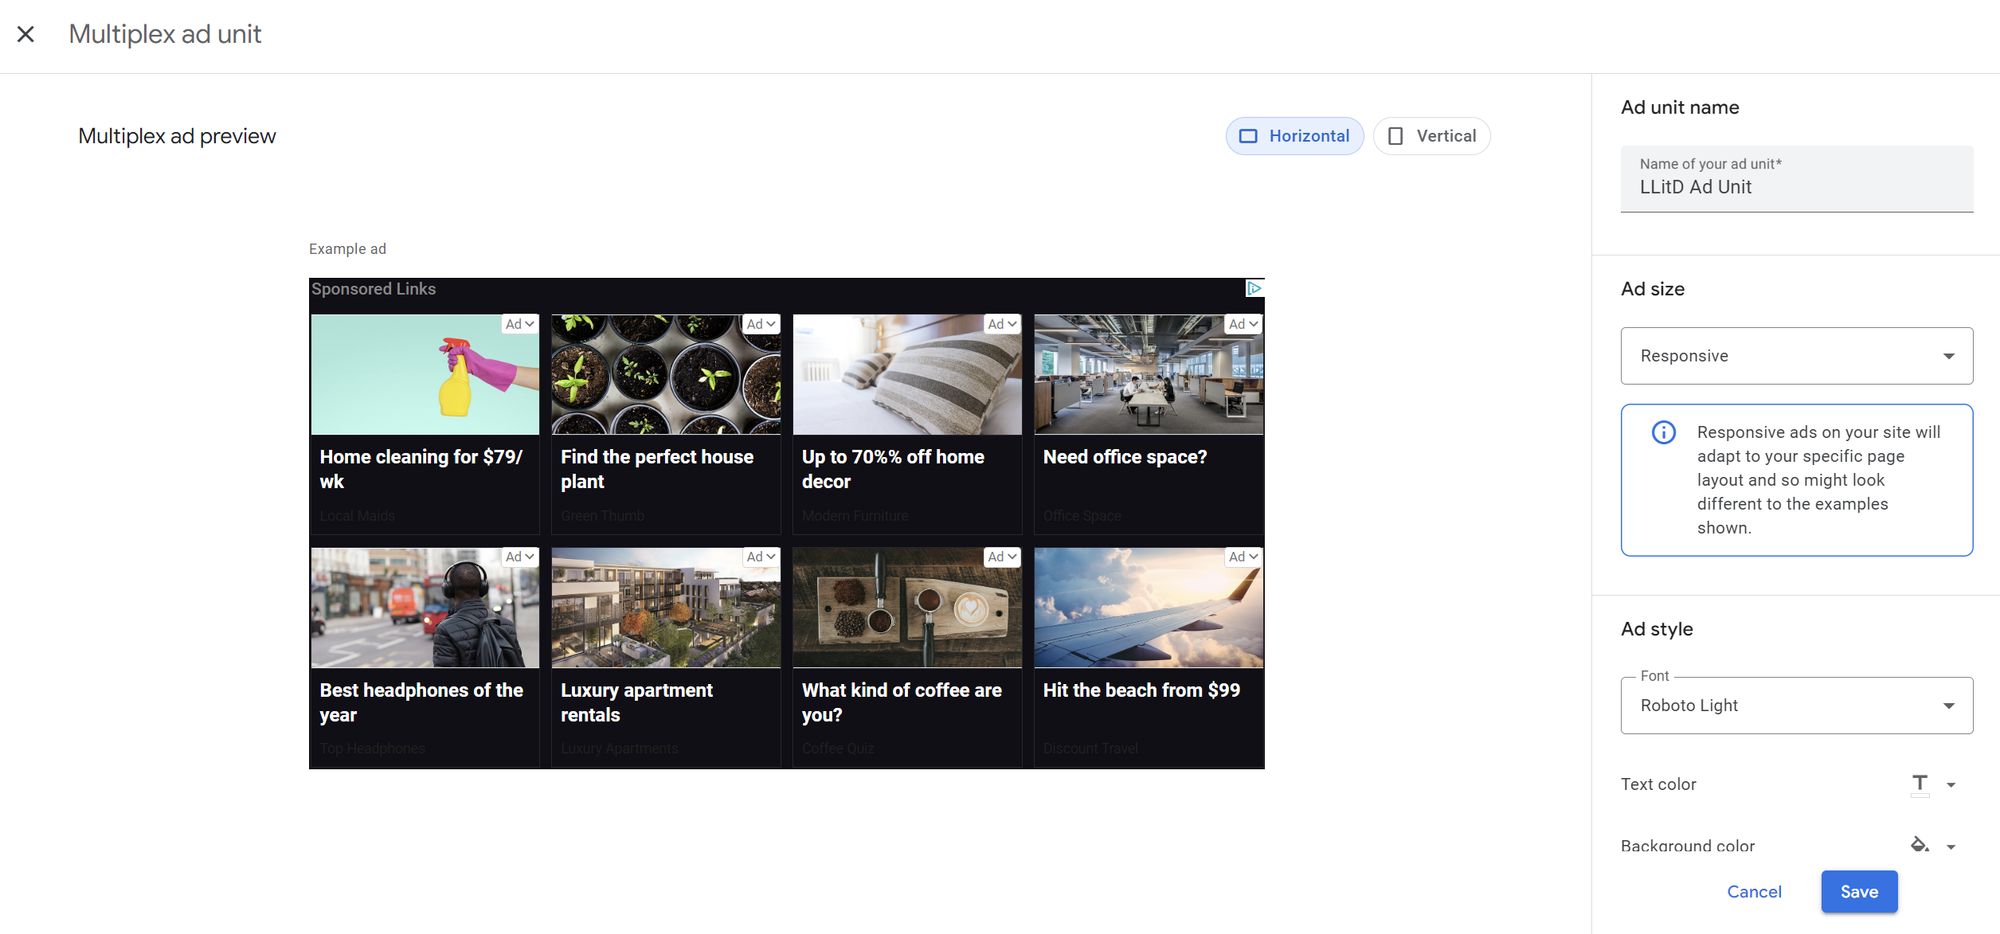
The upside of this path is that you have a LOT more control over exactly what to do with it, as well as the style, colors, and other details to help it meld into your site a bit better
The downside is that you have to manually configure it everywhere.
A cool thing about ghost is that you can create a snippet for use later, which means if you have an ad size/type you like you can create the html, name it as a snippet, and then just drop that in later by typing something like /ad-snippet.
However, it is still a lot more work than configuring auto ads, and sometimes you want to just set it and forget it.
Step 3: Only certain users
This is the nitty-gritty of why Ghost is so freaking awesome.
Themes.
Instead of dropping the details directly into your code injection, you can put them in your themes and take advantage of a pretty awesome handlebars feature.
{{#unless @member.paid}}
        <script async src="https://pagead2.googlesyndication.com/pagead/js/adsbygoogle.js?client=ca-pub-xxxxxxxxxxxxxxxx"
                crossorigin="anonymous"></script>
    {{/unless}}
This is an example of how I use ads on my sites, and as you can see it is the easiest thing ever to configure.
Basically, you just need to drop this tag with your auto ads script inside into the head of your default page, and voila: anyone who is a paying member on your site will now receive your pages ad-free, but free members and anyone without a paid account will receive the ads as normal.
This is an added incentive for people to become members that you can tell them about.
You could adjust this slightly and take away ads for anyone who is just subscribed so that only free members will be monetized, and you could also nest it into certain website pages so that it won't show up everywhere.
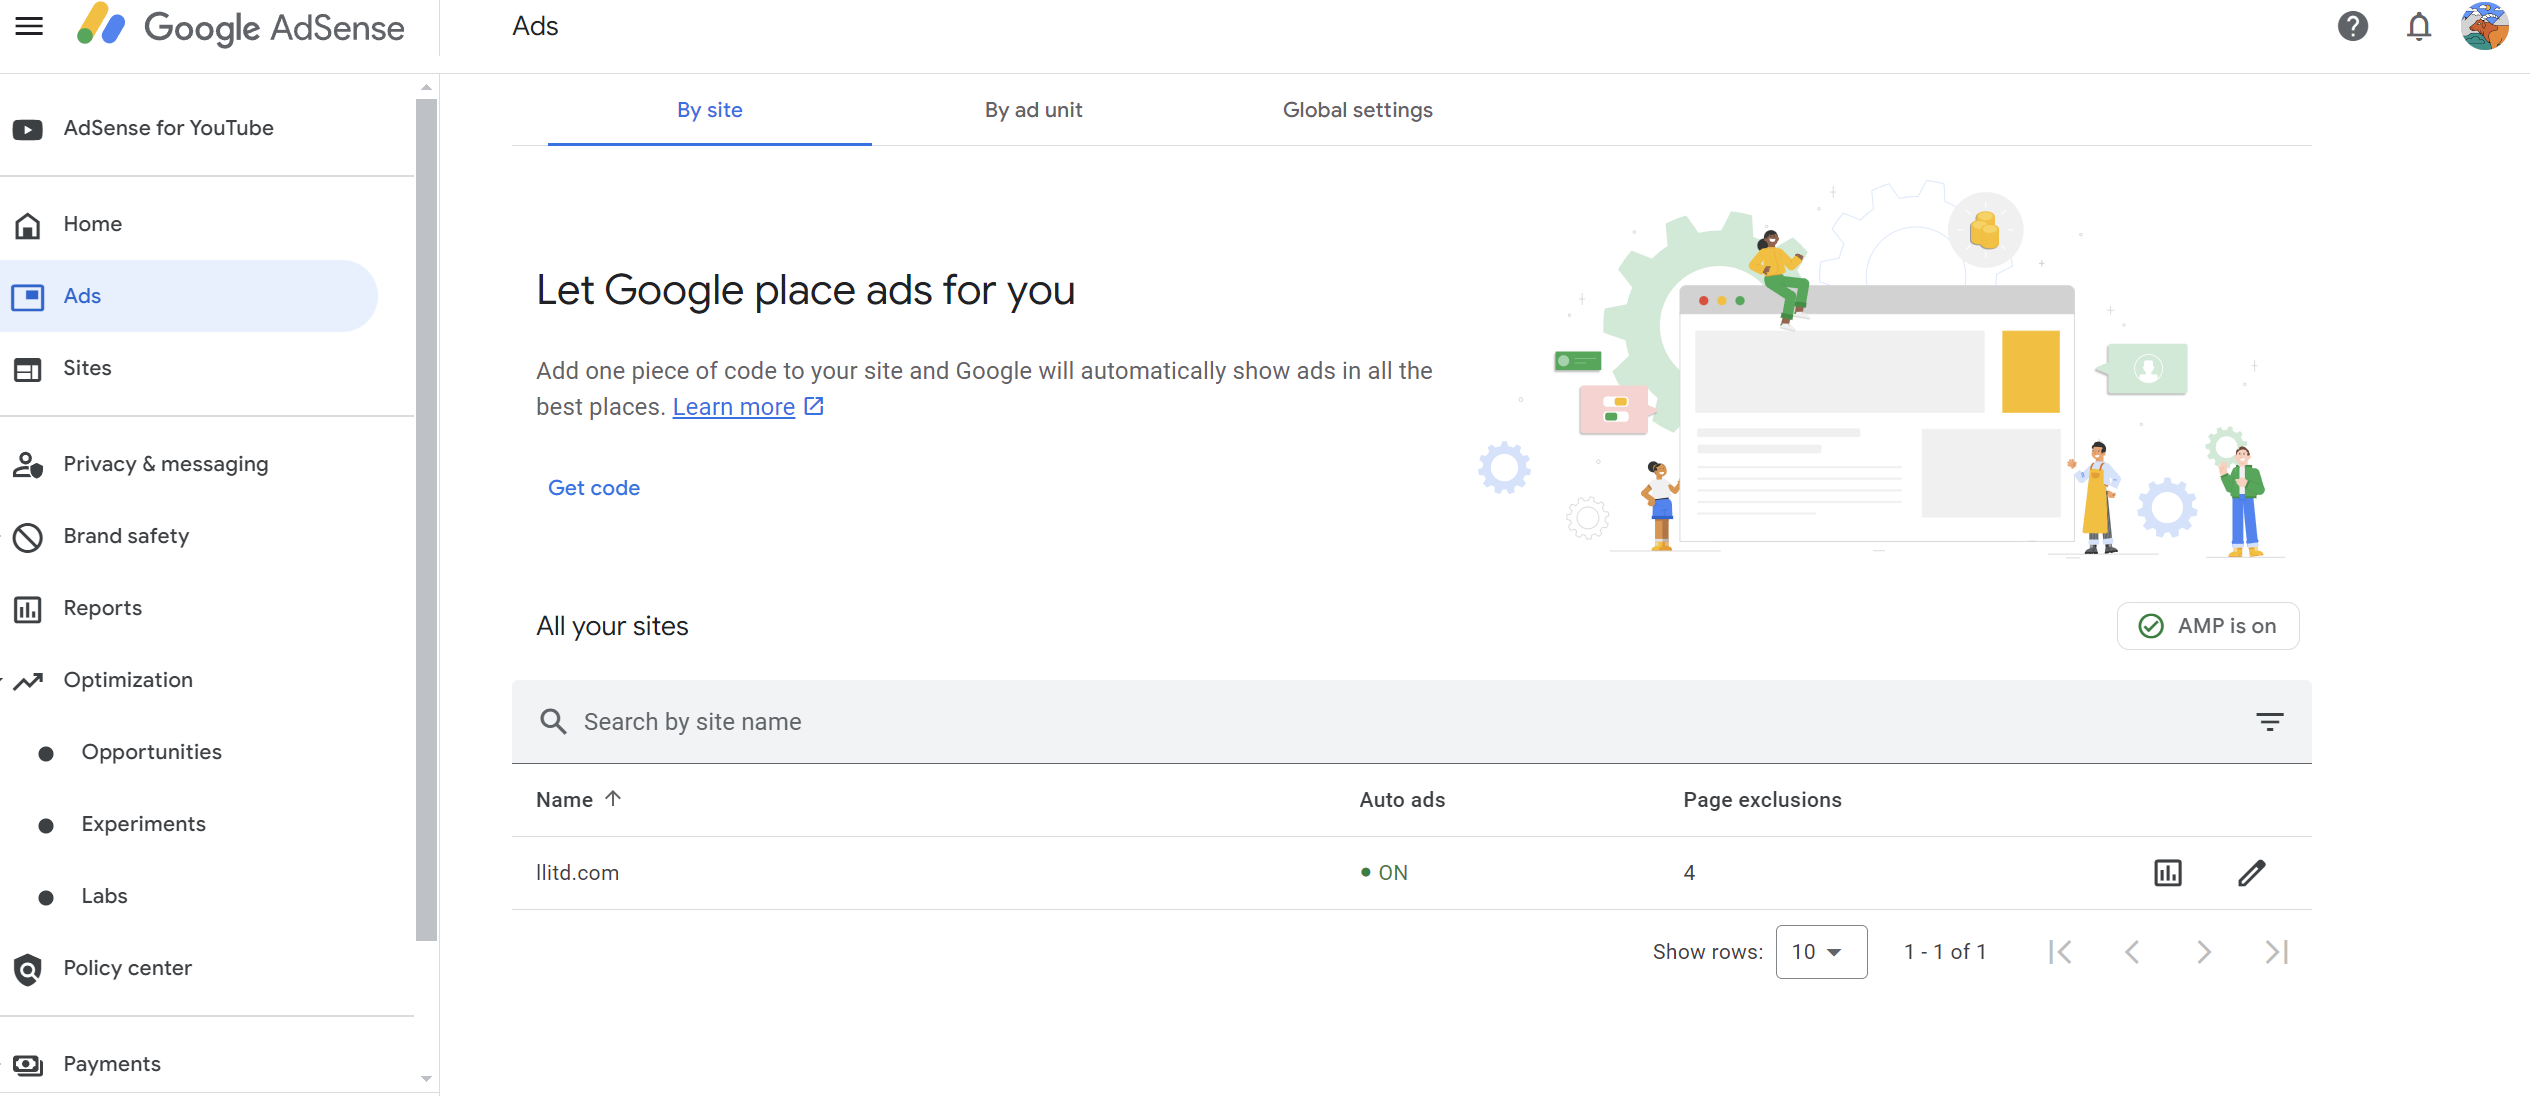
Step 4: Configuring Google AdSense
This is probably the most time-consuming aspect of using auto ads, becuase by default google will obliterate your page by jamming in as much garbage as they can.
However, you can open adsense, pick auto ads, and then configure and there are two exclusions:
- Excluded Areas
- Excluded Pages
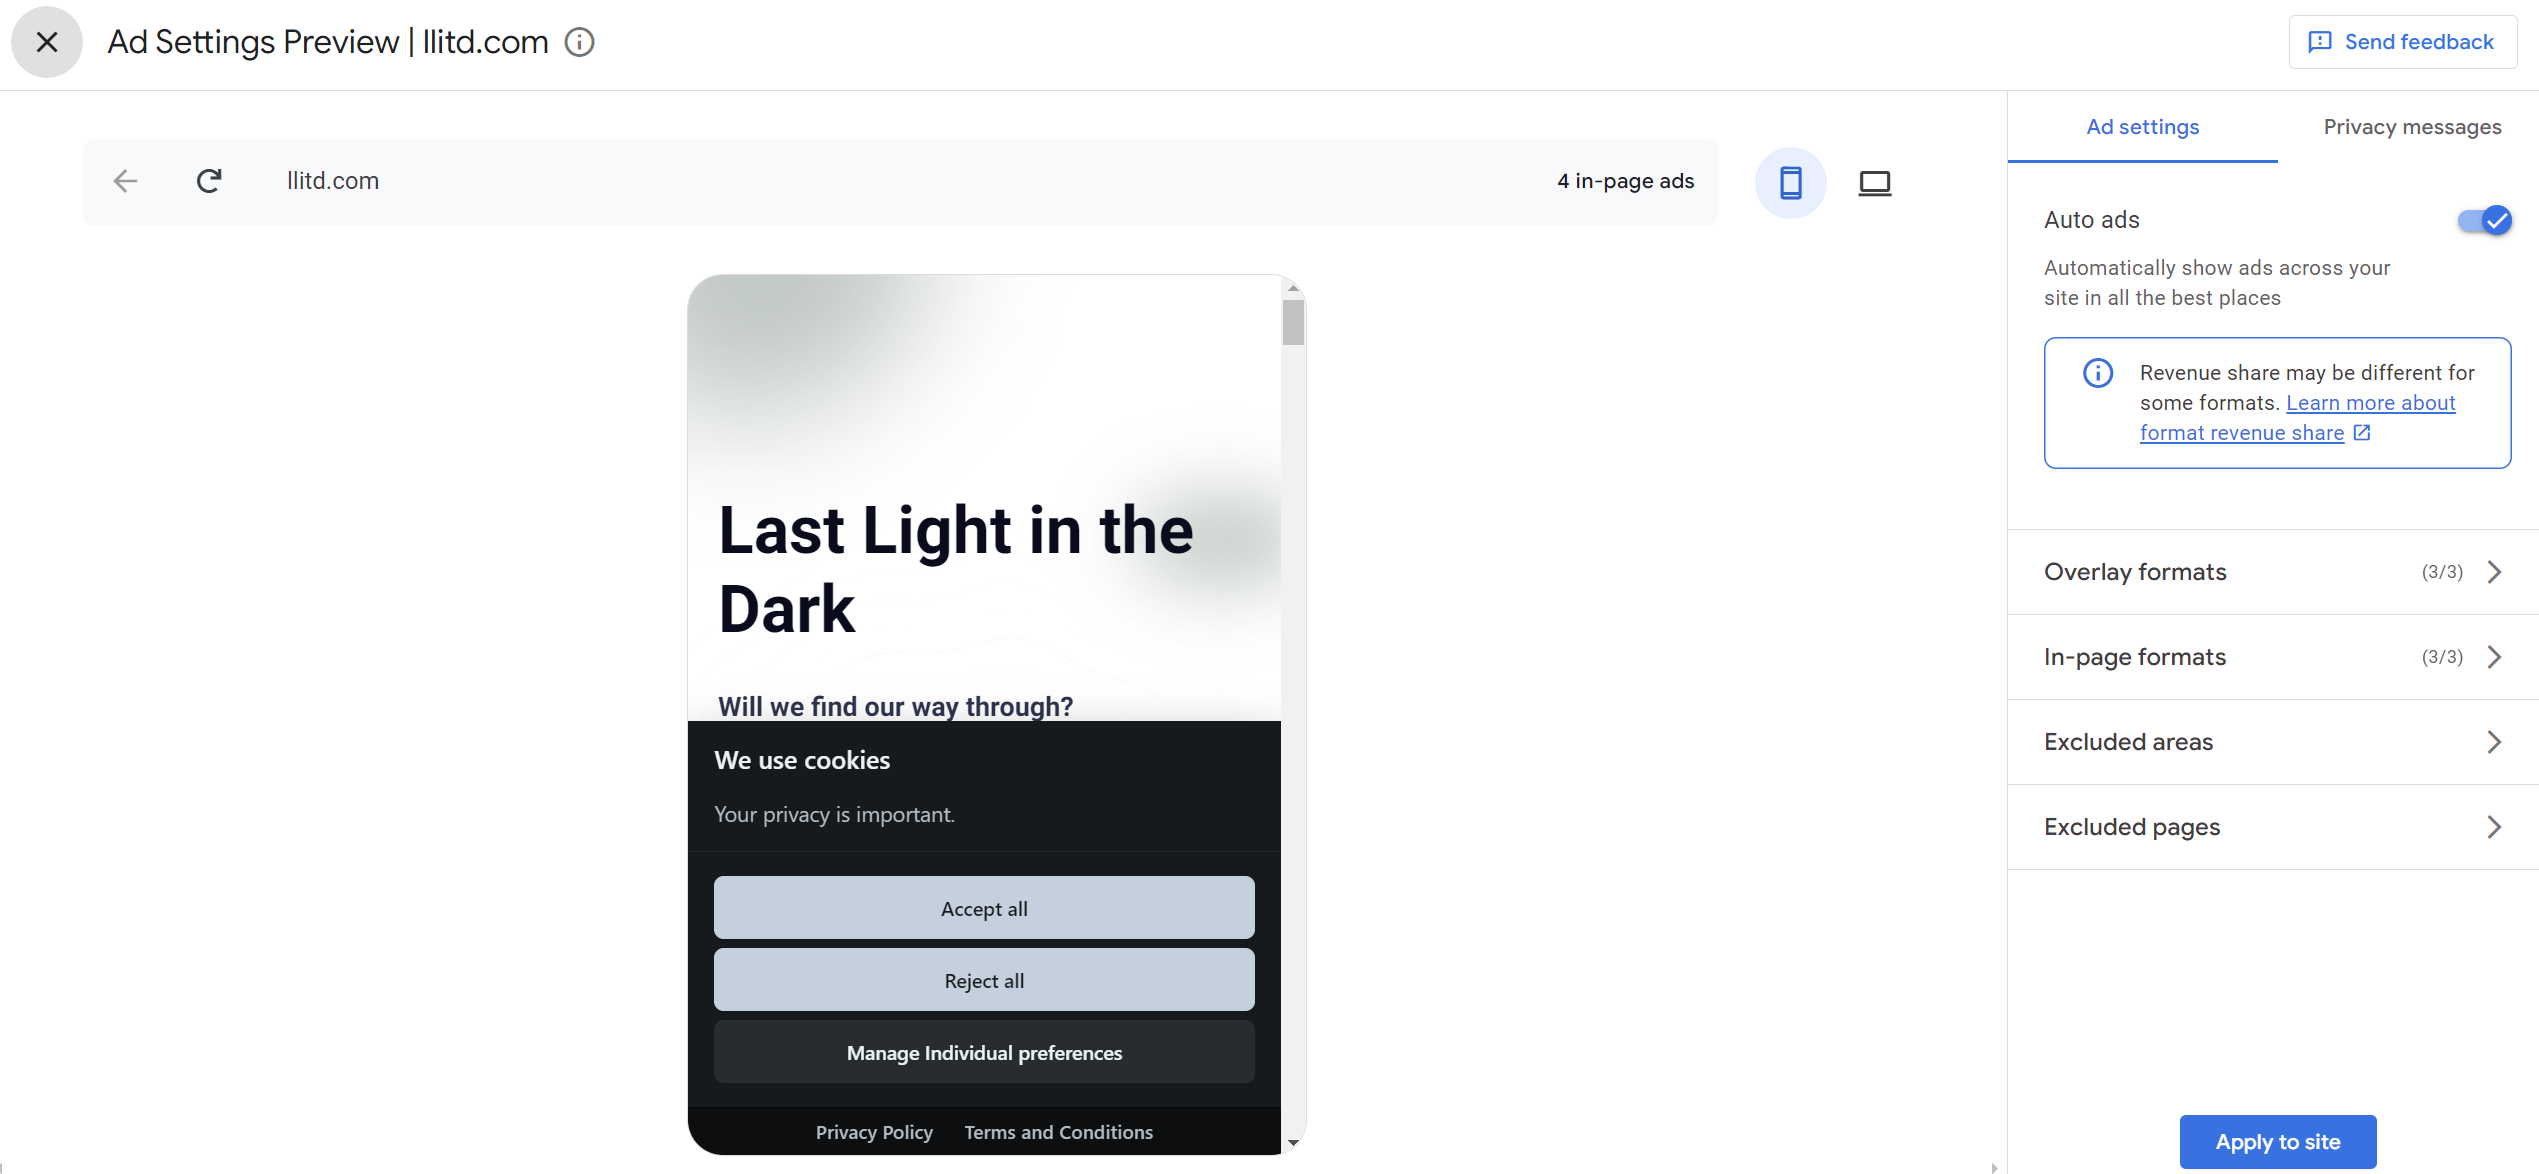
Excluded areas lets you open up the configuration and block any areas you don't want to place ads.
This is a great way to make sure you don't bombard people with ads. Google feels as though your best option is to put ads as the first several things people see when visiting your site, but my guess is you would prefer that people scroll farther down the page before being hit with them.
I generally block the first 5 or so placements, and then split up anywhere that it doubles up multiple placements together. You can scroll your actual page and visit other places on your site to see exactly where those ads will show up.
You can also, if you prefer, turn off In-Page formats. By default, they are all on, but if you would prefer to only see certain kinds of ads then you can turn other ones off. For example, you can turn off anchor ads or side-rail ads if you don't like those and customize how many ads you would like to see on your site.
There are a fair number of things to customize, and you can also exclude pages like your privacy, terms of use, landing page, or anywhere you don't want to bombard people with ads.
Step 5: Tweak
You are going to want to continually tweak and adjust things as you go. Google is constantly changing and evolving, and you're going to want to keep an eye on how things are working out.
You're not going to make a ton of money off of the ads unless you also have a ton of traffic, but it can be a nice way to supplement your paid memberships and also a way to encourage people to get a paid membership if you default ads off for those users.